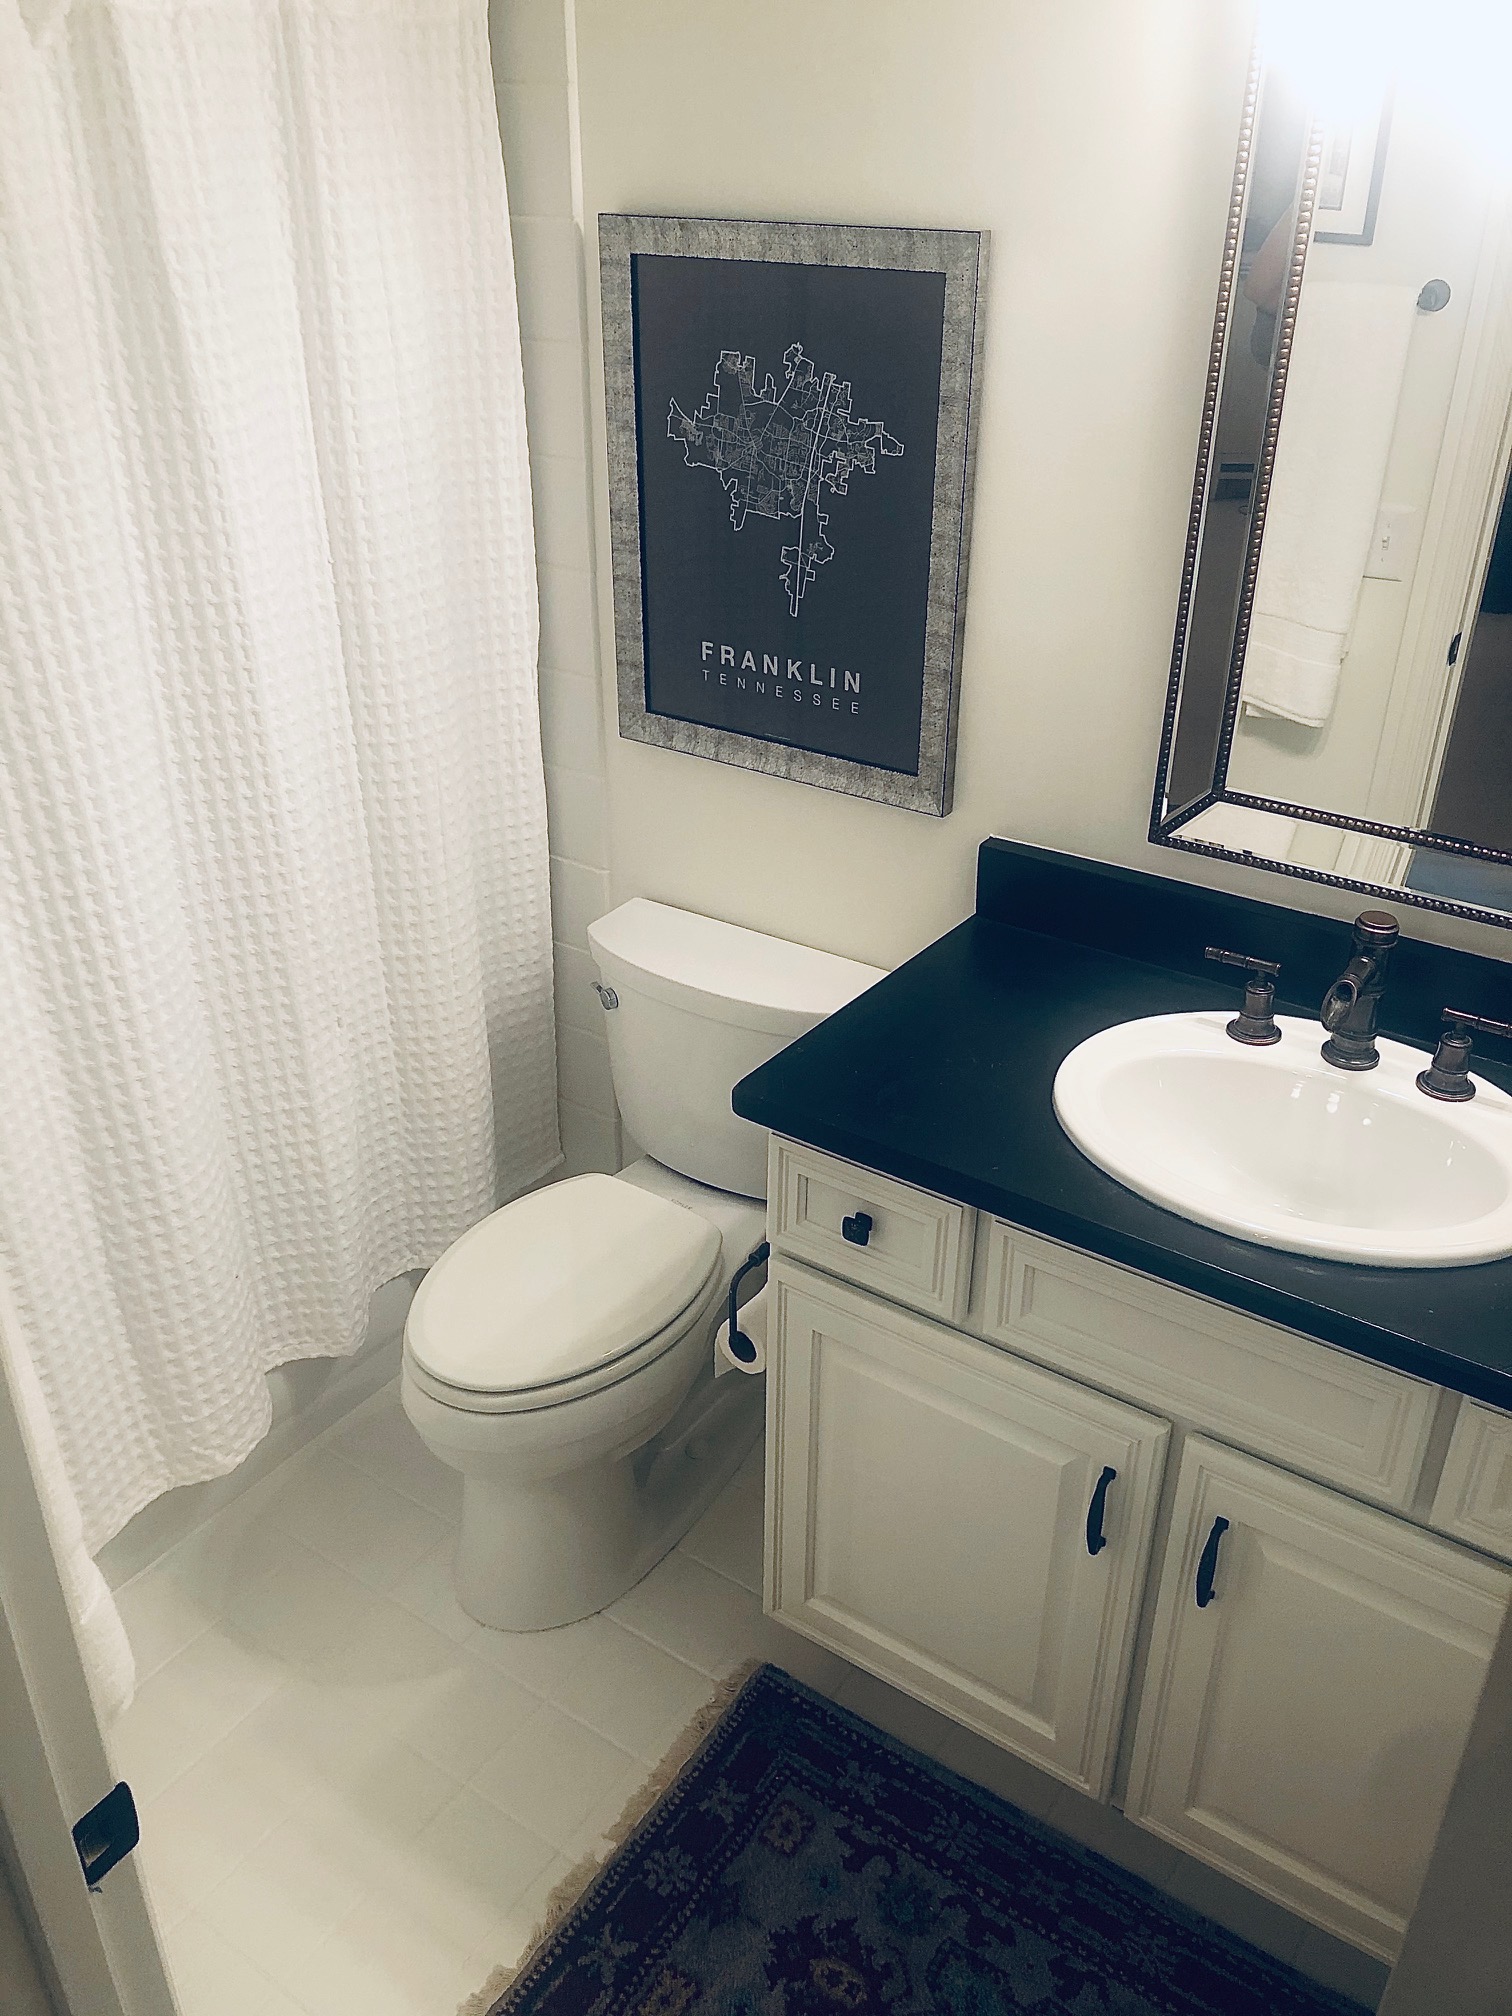
We have a tiny bathroom attached to our bonus room upstairs. The bathroom had decent finishes, but it had a glaring issue when we purchased the home. . .
Literally, everything was red. The tile in the shower was red. The tile on the floor was red. The cabinets were red. Even the granite was red. While I can appreciate the commitment to the color, we were not vibing.
I asked our contractor to bid it out since he was already going to be doing a kitchen renovation and a few other small projects before we moved in. Despite its’ small size, the renovation footed a large bill. Total estimated cost for this project to redo would be $12,000+.
Stephanie had recently painted her kitchen tile backsplash, so I decided to give it a whirl for our red bath. Since the finishes for the bathroom were in good condition, it also felt good to hold off on a demo and make the eco-friendly choice of using what we have a little longer.
Before you read further, please note that this is a low traffic area in our home. Knowing that it would get light use, I felt comfortable using paint as a temporary upgrade to the bathroom. The pictures below were taken 6 months after I painted, and you can see it still looks new. However, I would not suggest doing this for high use baths as cleaning the paint frequently would be tricky and your chance of chipping is much higher.
My tips for those of you brave to take on this project are:
- Give yourself a long weekend. It took around 72 hours with paint/dry time to complete this small bath.
- Grab a partner. Even if you are working in a small area, you’ll want to trade fairly often to take a break.
- Clean first. Like you mean it. Remember, whatever you paint down stays forever and little flecks can create an uneven surface.
- Painters tape first. This is an obvious and necessary step.
- Get more paint than you think you need. If you have porous tile, like I do, you will need to apply the paint generously
- Sponge brush + mini roller is best. I tried a hair brush and sponge brush. Sponge brush was my preferred tool for small areas. For larger spots, a mini roller worked great.
- Let each layer fully dry before starting new. If not fully dry, the paint will begin to peel.
- Only apply Polycrylic finish only the tile, not the granite countertop. This is a protective coating, and I chose a matte finish. It works really well for the tile in shower and on floor. I wish that I would have skipped the poly for the granite. Unfortunately, the way that it sits on top can make it look waxy in certain lighting. If you are painting your granite, I would suggest skipping the poly or opting for a different top layer.

These photos show an up close view so you can see the finished texture of the tile and granite 
This was my biggest mistake in painting the bath. Avoid hair brushes and poly finish on granite. Opt for the sponge brush and paint only to achieve more of a “stone” look vs the lines you see in the photo.
My parting advice is not to overthink this project.
I did a lot of research before I started, and there was an overwhelming amount of information online to walk through each step. Each paint brand will carry different instructions.
Make sure to follow them, always test on an inconspicuous area first, and allow for enough time to appropriately finish the project.
This is a simple, affordable & temporary fix to upgrade dated color choices in your home. We can’t wait to see your finished results!
What You Will Need:
Rustoleum White Linen (3 cans for the floor, vanity and bath tile)
Rustoleum Charcoal (1 can for the faux slate/stone countertop look)
MinWax Polycrylic Protective Finish (Matte finish–or choose a different sheen if you prefer a shiny look)
Painters Tape
Sponge brush (6)
Mini roller and rollers (1,3)
Paint pan (1)
Before/After


